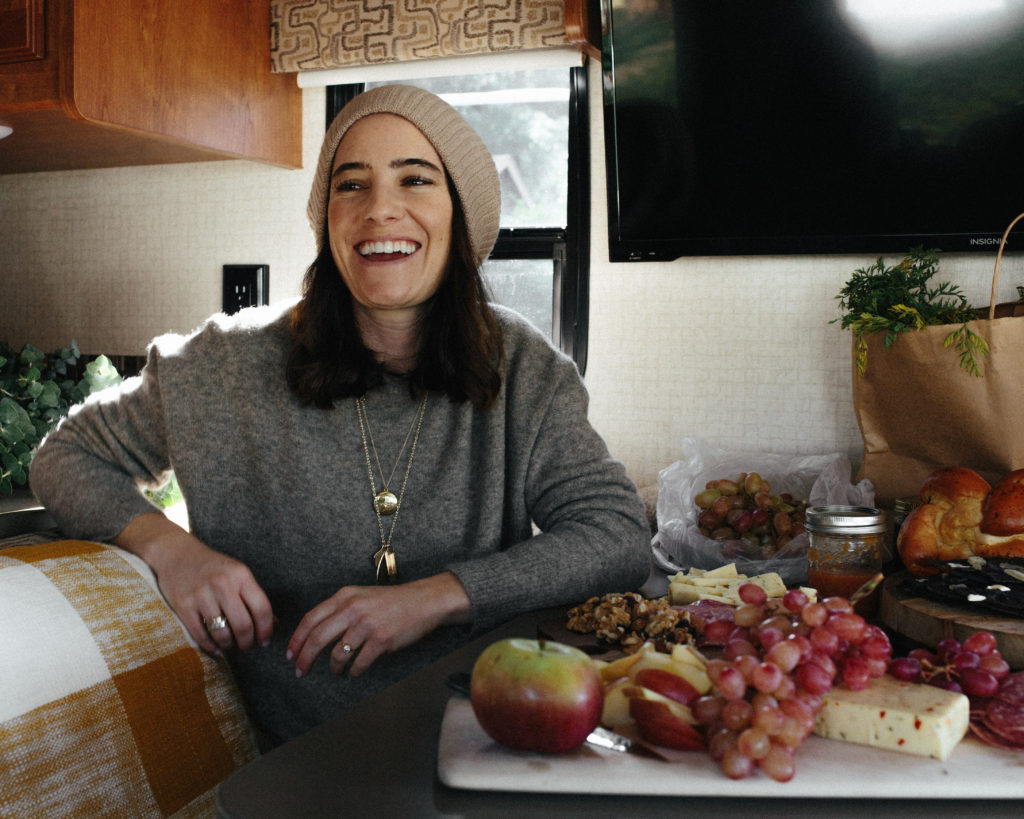
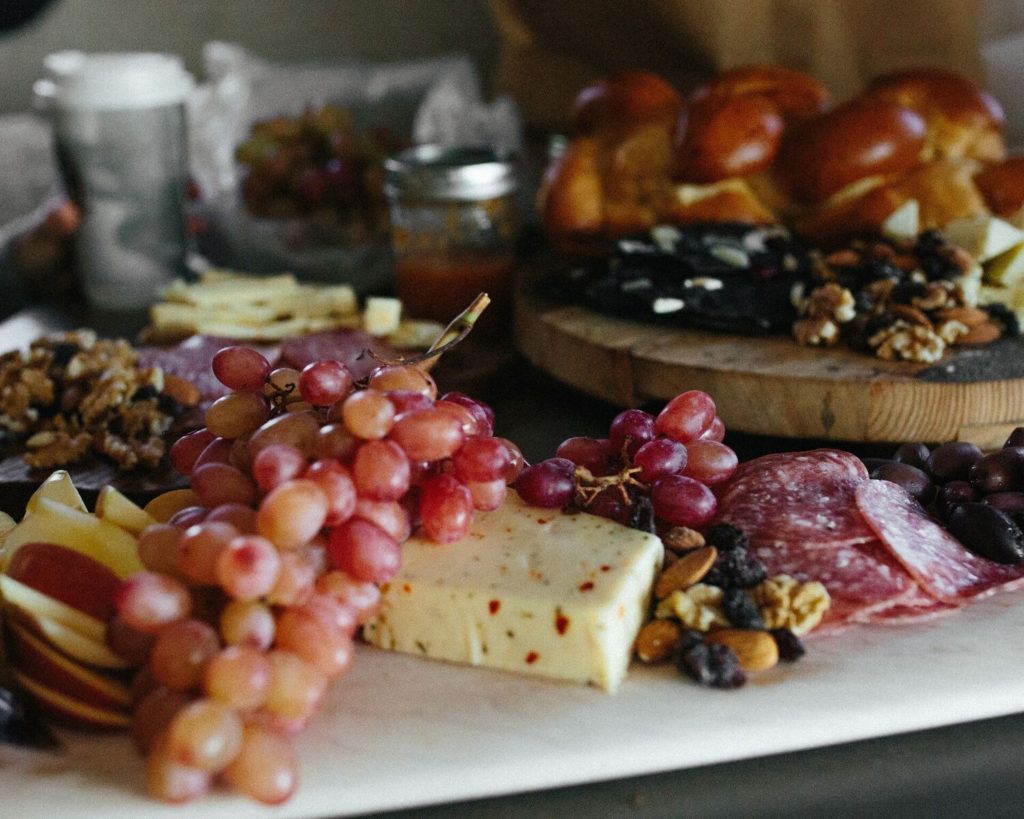
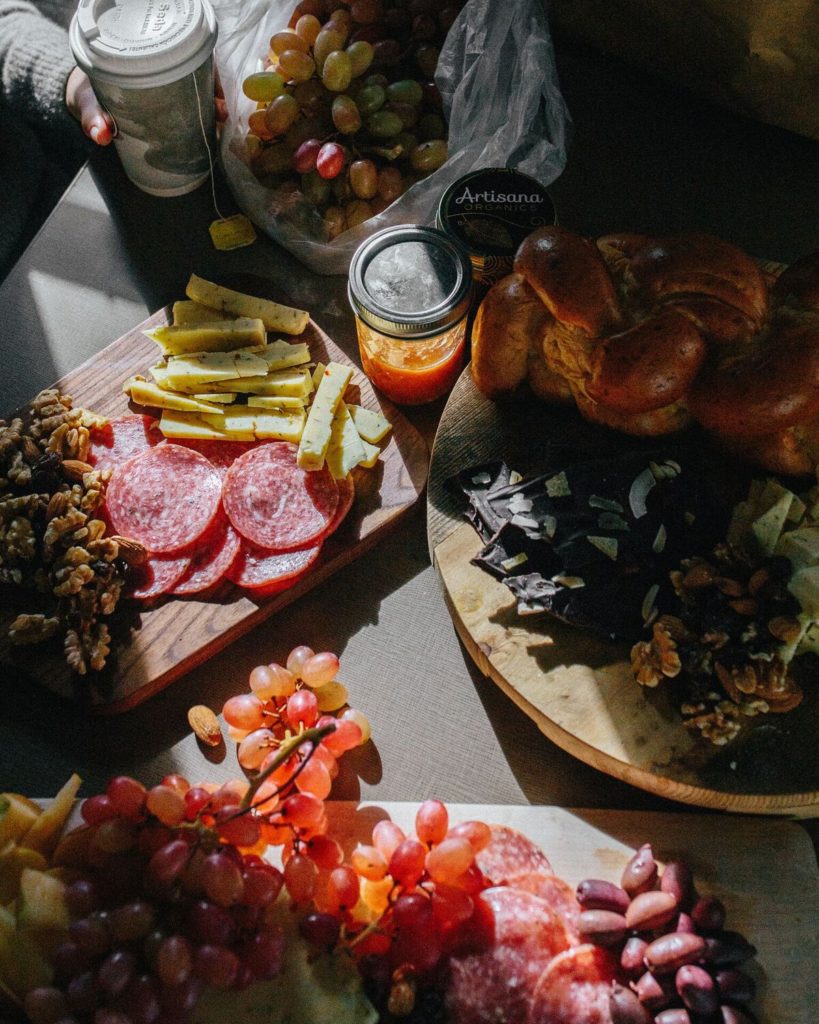
A charcuterie board is the ideal appetizer. This assortment of cured and smoked meat, paired with a variety of cheese, bread and add-on's can accommodate any palate. Whether you and your loved one are on a romantic RVers or you have big plans to meet up with fellow travelers for a holiday feast, you can't go wrong serving this antipasti. A no-cook board full of explosive flavors that take little to no time to create are perfect for RVers on the go. We've outlined 5 easy steps to making your very own antipasto. We promise, this will be a campground pleaser.
Step One: Find Your Board
When choosing your platter we recommend accounting for the number of people you'll be hosting. On picking the specific board, there are a number of nice options. A large cutting board (we used Barebones) is an easy go to option. If you'd like something a little more fancy use slate boards, marble slabs or ceramic platters.
Step Two: Buy Your Ingredients
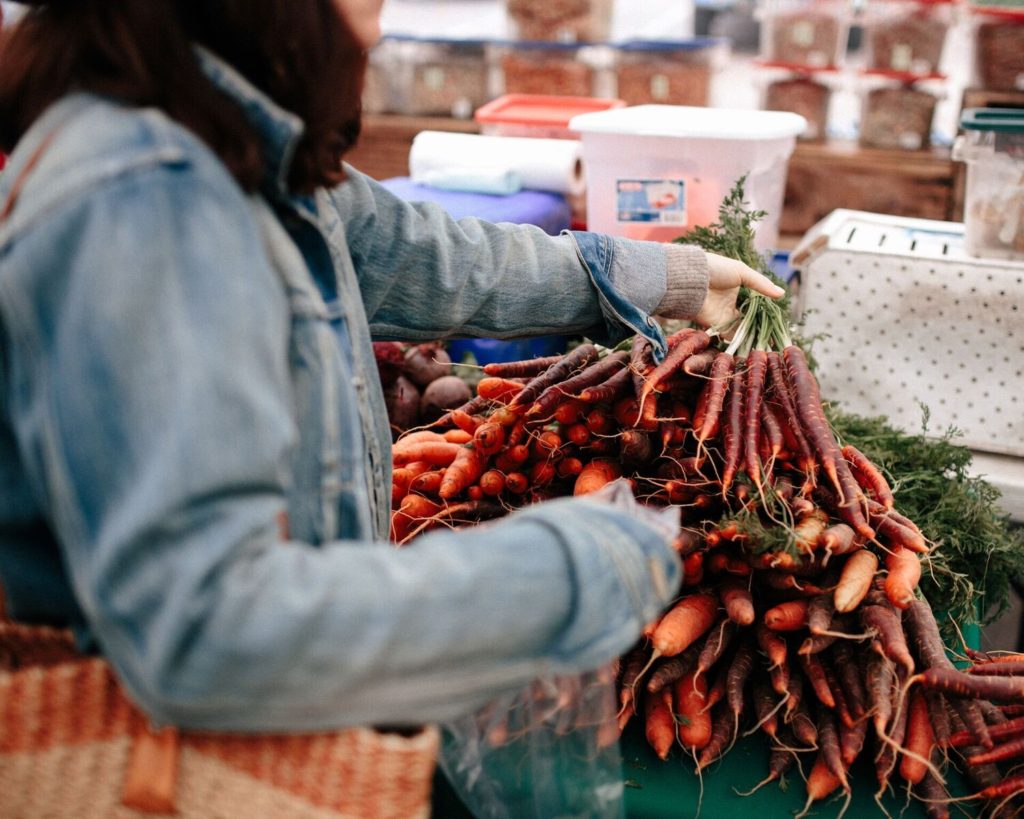
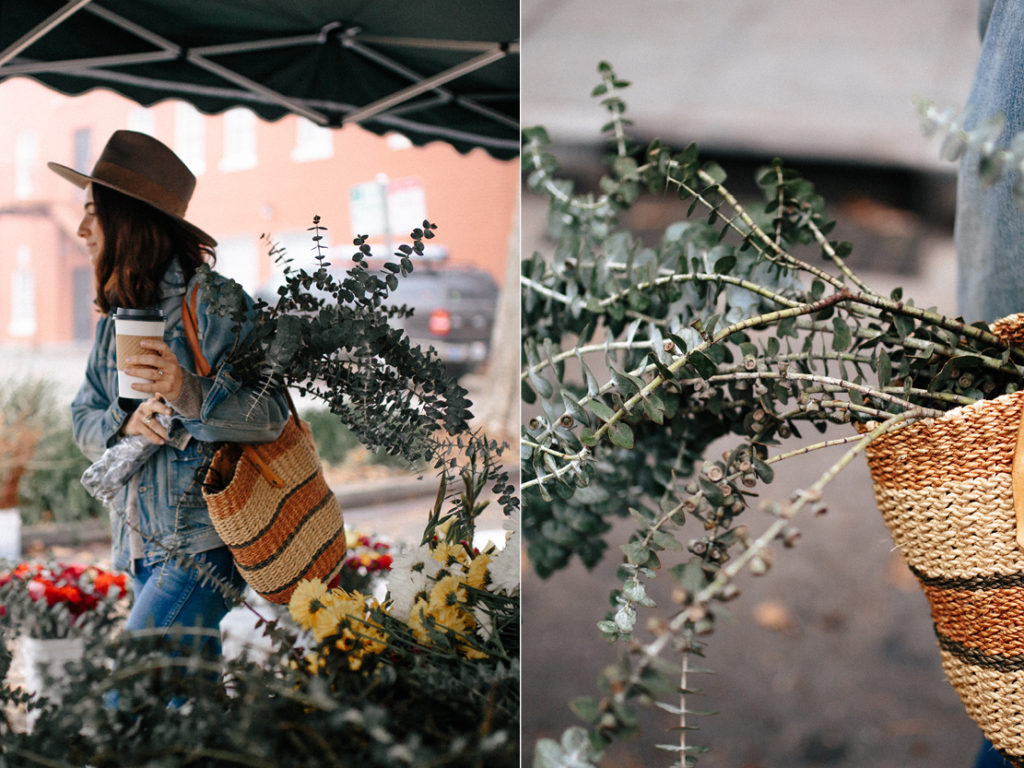
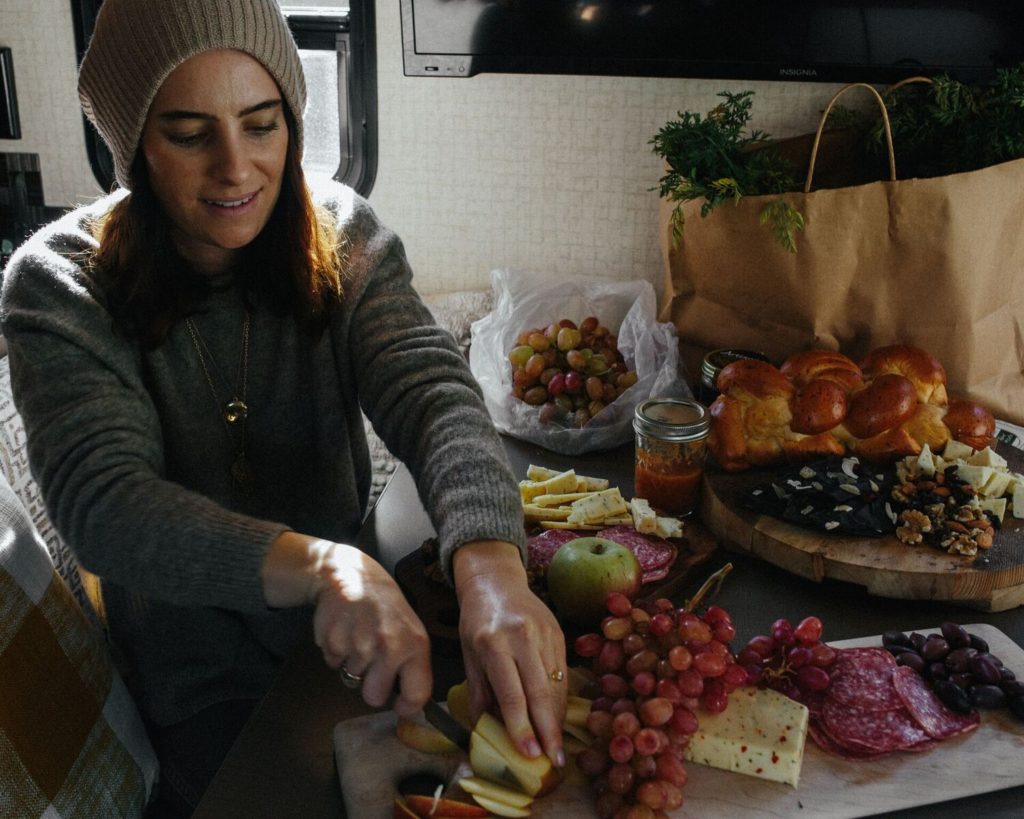
We can't hype supporting your local farmer's market enough. Our ingredients came from Midtown Farmers Market during our Road Trip with Alicia Lund. Alicia frequents her local farmers market weekly. The offering of this delightful market ranged from colorful produce, artisan cheeses and breads to delicious pre-made dishes. While your at your market, pick up some local blooms or herbs to add to your board. Make sure to keep cash on you as some vendors do not accept checks or credit cards.
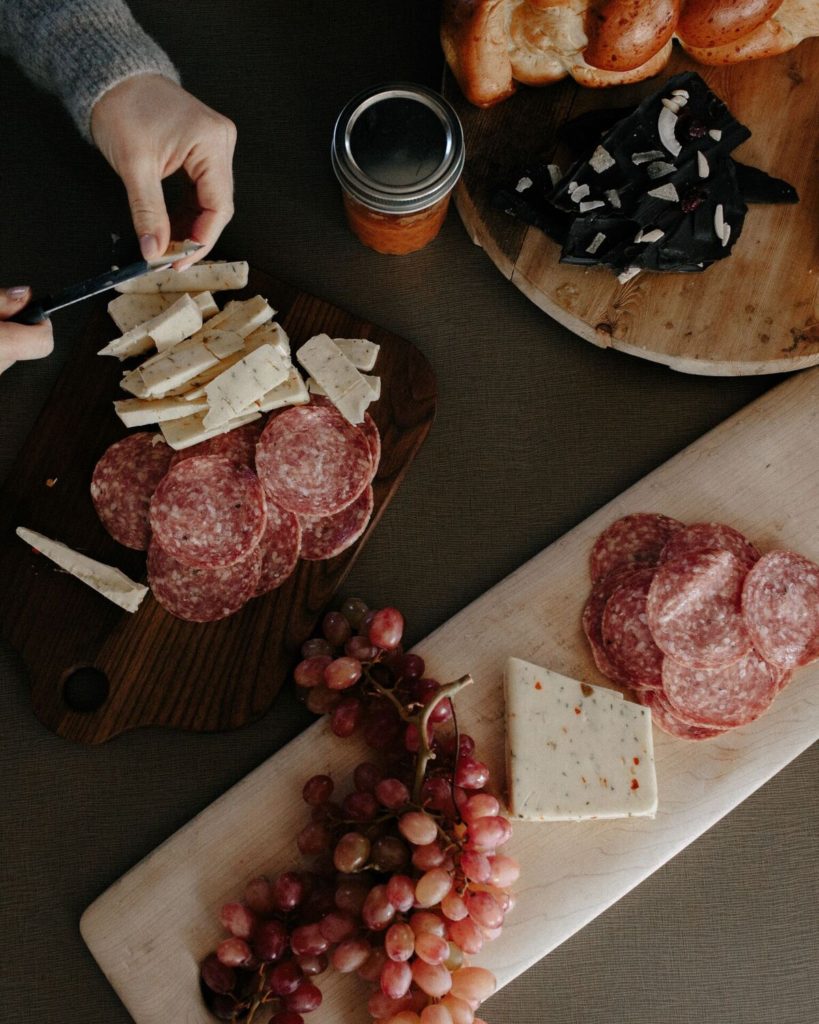
Meat: Choose a variety of cured meats for your board.
Our faves: Prosciutto, Pepperoni, Soppressata and Capicola
Cheese: Be sure to choose a variety of hard and soft cheeses.
Our faves: Brie, Smoked Gouda, Burrata, Havarti, White Cheddar, Couple, Manchego, or Goat cheese
Pro Tip: If you want to make it real funky, try adding Blue cheese to your board.
Toppers: These give the board zest and extra flavor.
Our faves: Artichoke hearts, cherry pepper shooters, grape leaves, pickles and sun dried tomatoes.
Pro Tip: Always add an assortment of olives. Cured olives will enhance the overall flavor of your board and are an intricate part of any antipasto.
Bread: Bread and/or crackers are needed to bring your whole together.
Our faves: Carr's Garlic + Herb Crackers, Carr's Rosemary Crackers, Italian baguette, French bread or browse your local Farmer's Market for additional options.
Pro tip: We recommend going with semi-mild flavors that pair perfectly with meats and cheeses.
Gluten-free options: Try these amazing Blue Diamond Nut-Thins that come in a variety of flavors.


Step Three: Assemble
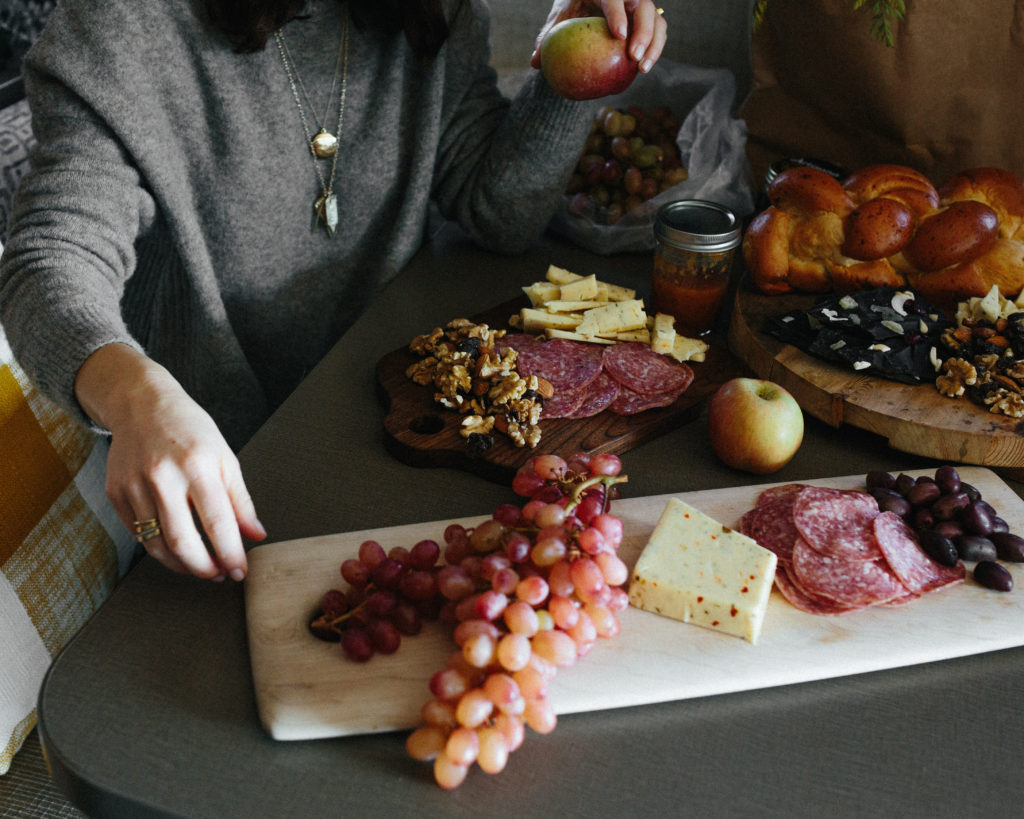
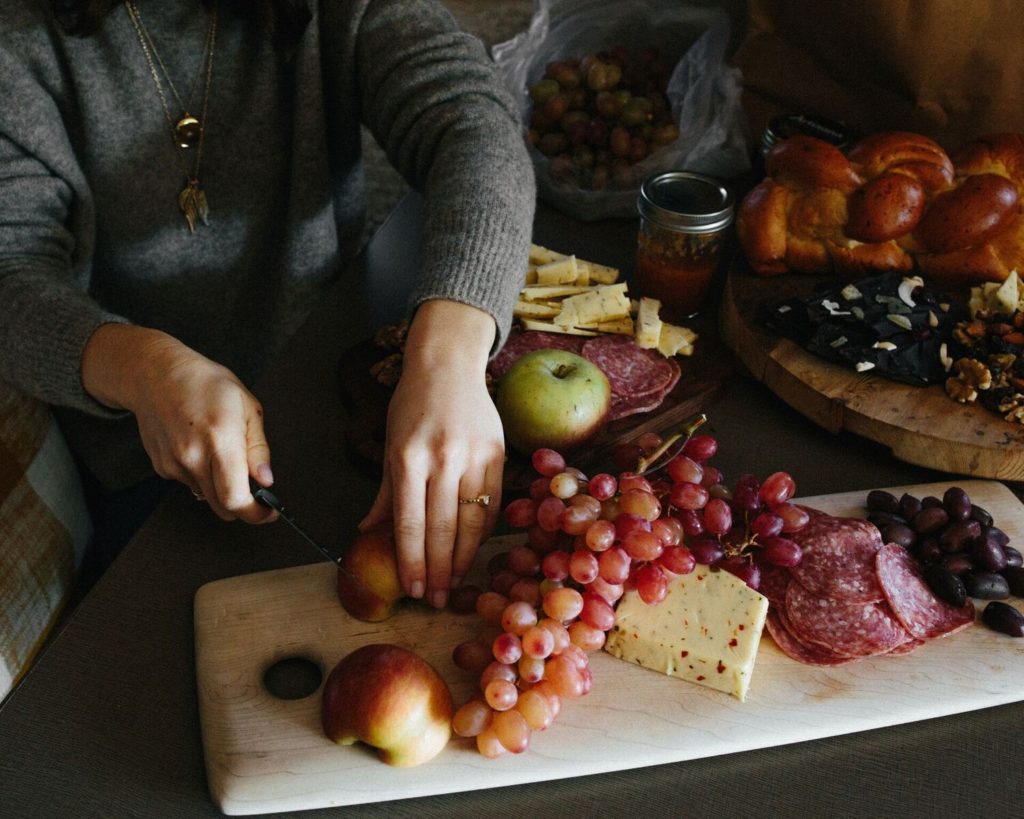
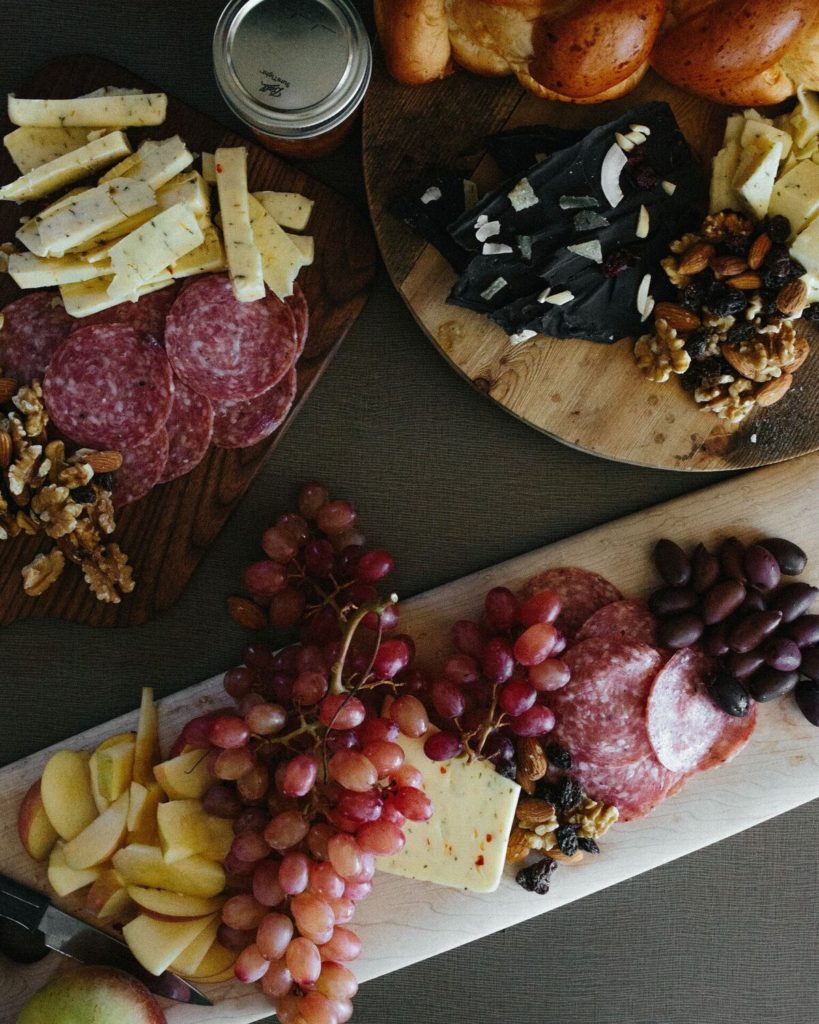
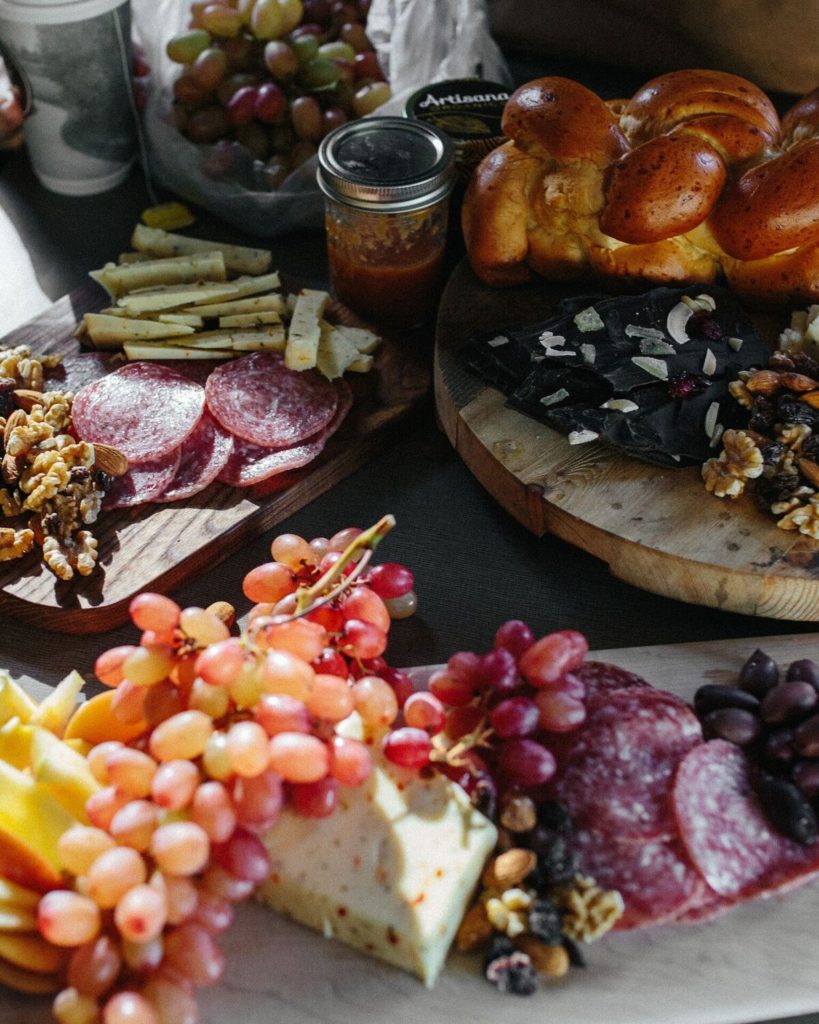
This is the fun part! Use a cheese slicer or knife to slice your wide variety of meat, cheese and bread. Put your creative eye to work when organizing your board. There is no wrong way to do this. Check out our final photo below for organization inspiration. If you're hosting your campground neighbors be sure to restock your board as ingredients start to dwindle. Remember, a charcuterie board is about the look as much as it is the taste!
Step Four: Dress It Up
The basic charcuterie board is delicious as it stands but there's always room for spicing up!
Nuts - Almonds, walnuts, pistachio, brazil or macadamia.
Fruit - Fresh or dried. Apples, grapes, dried banana, blueberries, dried apricot and strawberries.
Spreads - Tie the whole board together. A spreadable chutney or jam pairs well with the salty meats.
Chocolate - You really can't go wrong with dark chocolate, ever.
Wine - Red, white, rose, your choice!
Step Five: Share and Enjoy
You are ready to eat! Place the board on a central table and watch your guests flock to it. This antipasto will have everyone sharing and experiencing together. Dare we say the charcuterie board is the new s'mores?
Enjoy Alicia's step by step video guide on how to achieve the ultimate charcuterie board.
5 Steps to the Ultimate On-The-Road Charcuterie Board
Feb 21, 2018 | 7 min read